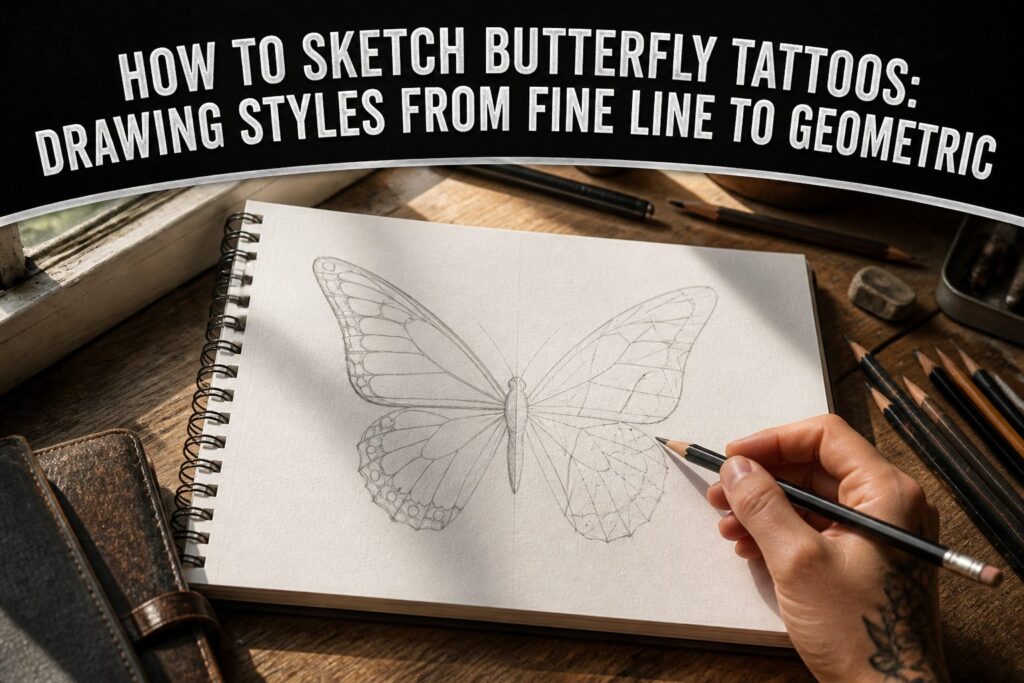
A finished butterfly tattoo sketch takes about fifteen minutes of pencil work, plus the cost of an artist who can read what you actually drew.
Most people get the mirroring wrong: they redraw the second wing freehand instead of folding the paper, and the asymmetry makes the insect look injured once it is on skin.
The fold-and-rub transfer fixes that, but only if the first wing is pressed hard enough to leave a mark.
1. Fine Line Sketches
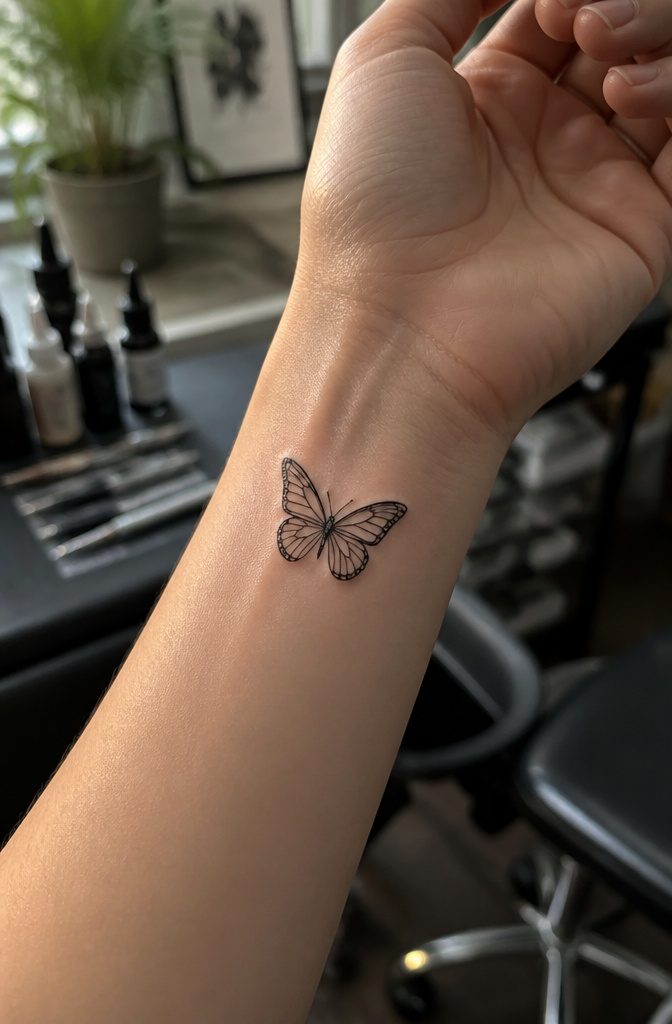
Fine line butterfly sketches live or die by the needle width. A 0.5mm line is the floor for anything that will still read as a butterfly once the skin heals and the ink settles.
Go thinner and the antennae, the wing edges, the tiny hooks where the thorax meets the forewing, all of it blurs into a gray smudge inside two years.
The appeal is obvious: a butterfly drawn with a single-weight stroke looks weightless, like it landed on the collarbone or the wrist by accident.
That same delicacy forces hard choices about placement. The inside of the forearm works; the ribs, where the skin stretches and contracts with every breath, will distort those hairlines faster.
The back of the neck, the ankle bone, the space behind the ear, all of these suit the scale because the design stays small enough that the artist never has to thicken a line just to cover ground.
In the sketch phase, this means drawing at actual size.
A butterfly that looks balanced on a 4-inch page will not shrink gracefully to 1.5 inches; the proportions between body and wing change, and what read as elegant negative space becomes accidental gaps.
Work at the size you intend to wear, then hold the paper at arm’s length. If the silhouette still registers instantly as a butterfly, the linework will hold.
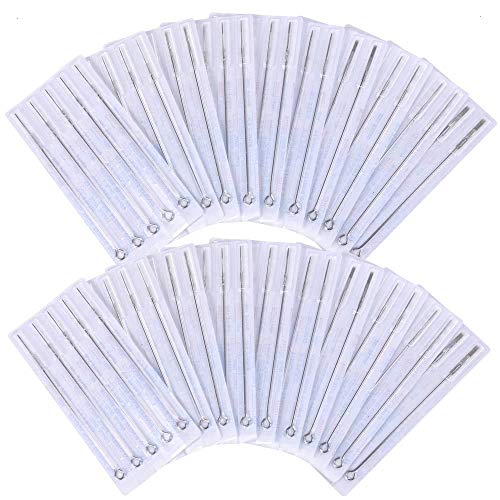
Package includes 10 pieces of each size: 3RL, 5RL, 7RL, 9RL, 3RS, 5RS, 7RS, 9RS, 5M1, 7M1

TATELF 1001RL cartridge needles feature #10 0.3mm ultra fine single round liner, tight round configuration delivers consistent ink flow with minimal skin trauma. Ideal for ultra-thin lines unavailable with 1005RL & 1203RL cartridges.

Mast Pro purple tattoo cartridges needles have been providing with high density clear plastic body.
2. Realistic Studies
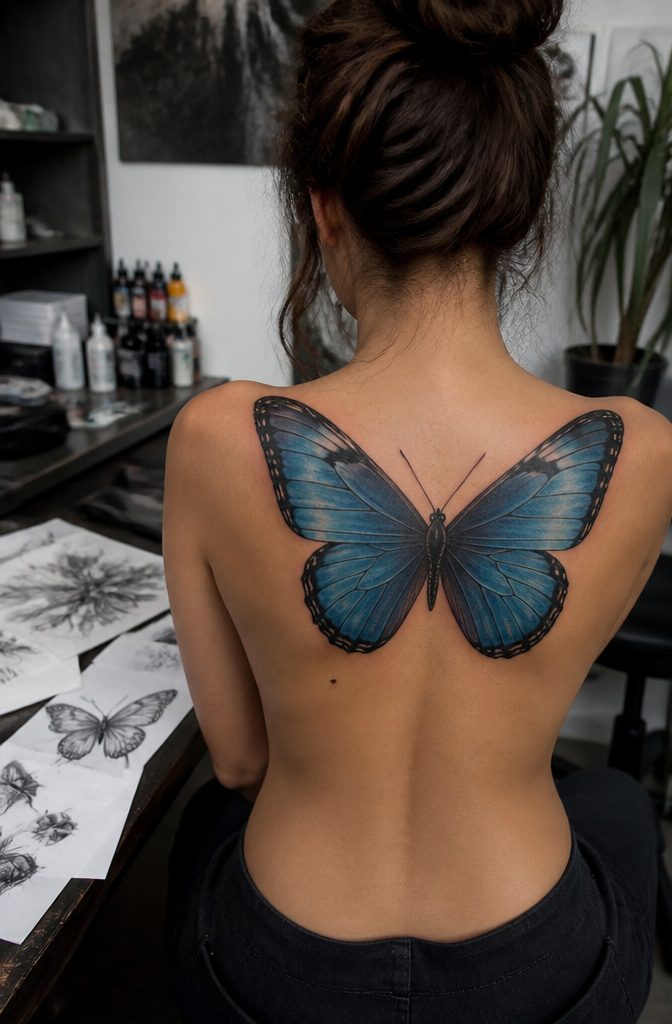
A monarch study with full vein pattern and edge spots demands more patience than most tattoo ideas drawings sketches butterfly collectors expect.
The wing veins branch like river deltas, each one tapering from the thorax to the wing margin, and getting that taper wrong makes the whole insect look pasted on.
Photo reference matters here in a way it does not for stylized work.
A blue morpho with layered wing segments for gradient shading only reads as iridescent if the segments overlap the way they do in nature, not as flat color blocks.
Side-view poses, one wing folded, solve a placement problem most people do not anticipate until they are in the chair.
The landing posture compresses the body into a shape that wraps around a shoulder or forearm without the distortion a spread-wing design suffers when curved over muscle.
The torn-edge wing variation turns that same compression into a storytelling device, the damage reading as resilience without needing extra symbols around it.
Two butterflies paired, one detailed and one dissolving into lines, works best at scale large enough for the dissolve to read as intentional, not as a mistake in the stencil.
A close-up wing texture study with scale patterns needs that room even more; the individual scales sit so tight together that shrinking them to under 3 inches turns texture into gray mud.
Upper back or outer thigh gives the space. Inner arm does not.
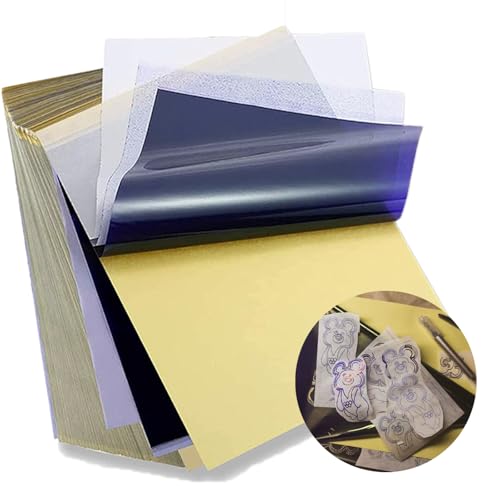
Standard size: Tattoo Transfer Paper is standard A4 paper size, each measures 8.27 in X 11.69 in. There are 4 levels in total. The thickness of the paper is very light and smooth to the touch.

Warm Tips: The tattoo transfer paper need to work with transfer medias.You will need to purchase the stencil ointment separately. Apply the design made on the master paper. Please pay attention to press the back side of the pattern to the skin for at least 3 seconds
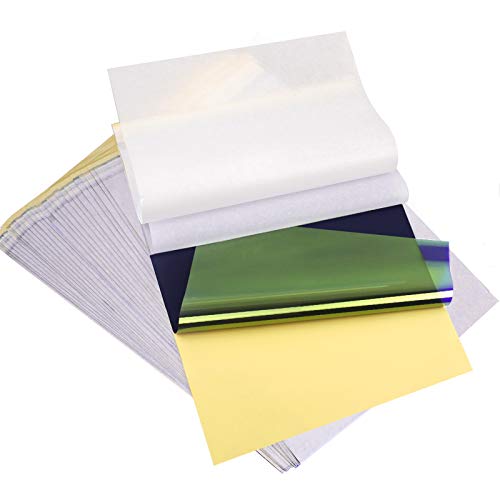
ADVANCED MATERIAL: Tattoo transfer paper is made with the high quality dyes and stencil paper. Transfer marks are very clear, clean and smooth. Tattoo transfer paper kit come with 35 sheets. Great for tattooing, trace and transfer images onto the body.<br>
3. Minimalist One-Line Designs
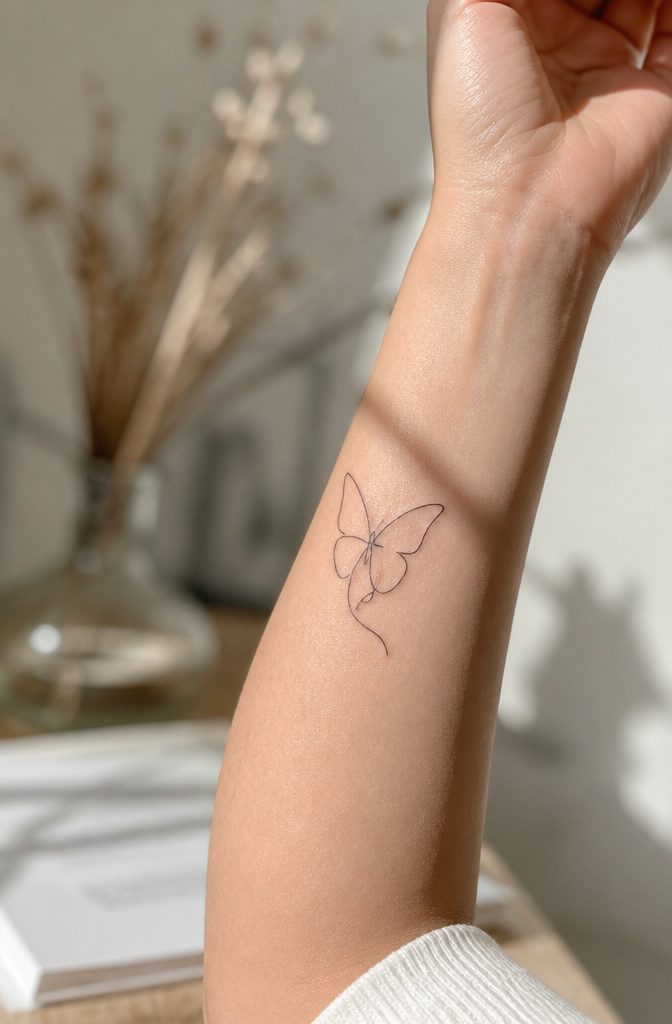
A single unbroken stroke can carry the whole butterfly if the line knows where it is going.
The eye fills in the missing halves, the antennae, the gap between thorax and wing, so the sketch reads as complete even where the pen never touched paper.
That completion is the style’s whole trick, and it only works when the line earns it.
The symmetry demands a mirror trick: fold the paper, draw one wing against the crease, and unfold to find the pair already matched.
Without that shortcut, the freehand line drifts, and a lopsided butterfly breaks the illusion that this was effortless. The same fold works on tracing paper if you are refining a digital sketch into ink.
Planning matters more here than in busier styles. A stray mark is a stray mark; there is no shading to hide it, no second line to correct the first.
The sketch is the tattoo. Every curve has to justify its place before the needle ever starts.

183PCS Different Styles Tattoos Stencil: Our temporary tattoo stencils forkids comes with 183 temporary tattoo stencils painting set design such as flowers, cats, hearts, skulls, dinosaurs, fruits, deer, scorpions, Hannah, unicorns, whales, cars, rainbows, telescopes, ships, too fast, astronauts, pirates, letters, stars and more Style in 12 sheets A5 size. Perfect for festivals, parties, or daily fashion.


▶ Henna Tattoo Kit: 16 sheets tattoo stencils. airbrush tattoo stencils suitable for tattoo lovers. Experience the effects of tattooing without the pain of tattooing.
4. Traditional Flash Style
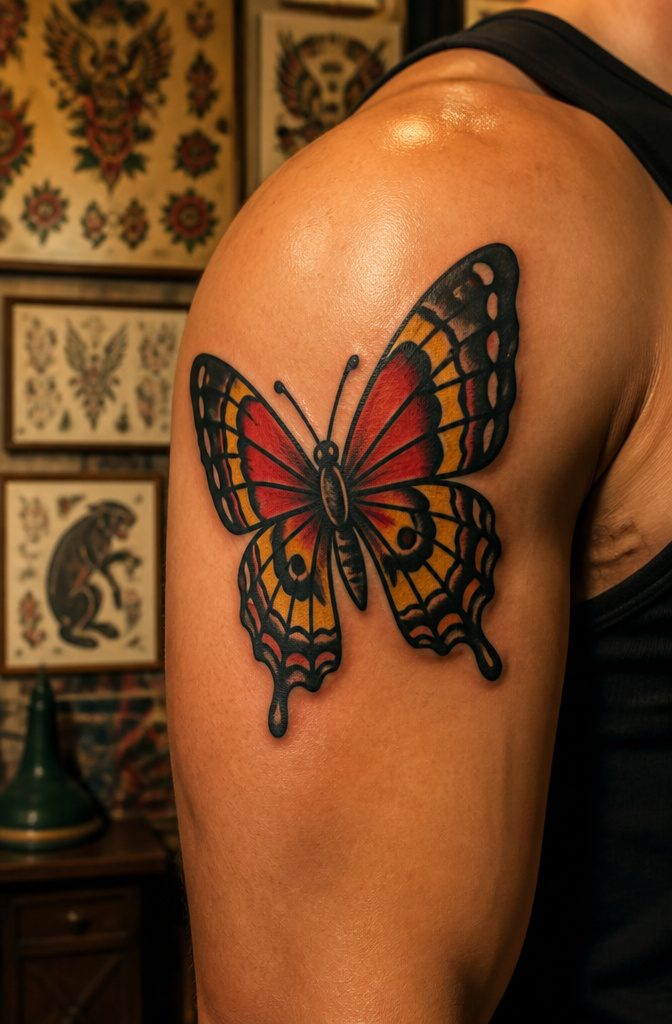
Bold outlines and a tight color palette are what separate a flash-style butterfly from the sketchier work people pin on mood boards.
The classic build keeps three color zones: a saturated body, wings that shift from light to dark, and a hard black edge holding the whole shape together.
Pair the butterfly with a rolled banner beneath the wings if you want a name or date worked in, or set it against a small dagger or rose to anchor the composition.
Nautical versions trade the rose for a tiny anchor; lucky ones add a horseshoe and stars.
This style is built to last. The heavy line weight stays readable as skin ages and shifts, where fine-line work can blur into a soft gray smudge after a few years.
A bold symmetrical butterfly sized for the shoulder will still scan as a butterfly in a decade; a hair-thin rendering may not.
The trade is detail for longevity: you lose the delicate veining, but you gain a piece that reads from across the room and holds its saturation without touch-ups.

Generous Quantity: 5 sheets containing a total of 55 monarch butterfly tattoos for multiple applications and sharing

【Package Include】Each package including 30 sheets butterfly temporary tattoos sticker, 126 pcs in total, there are different colors and styles to choose from, used for arms, shoulders, back, legs and any other part of your body

🐙10 Sheets Butterfly Temporary Tattoos Halloween Costume:🐠 Bilizar 3D Halloween Temporary Tattoos For Women Adults Face Tattoos Body Art Face Makeup Stickers Look Real! 【Click Our Store/Brand Name To See More Fashion Designs:🐠Beautiful Butterfly Tattoos Attractive Exquisite 3D Flying Butterflies Around Eye Tattoos Eyelid Eyeliner Eye Shadow Tattoos For Eye Face Sticker.
5. Watercolor-Ready Sketches
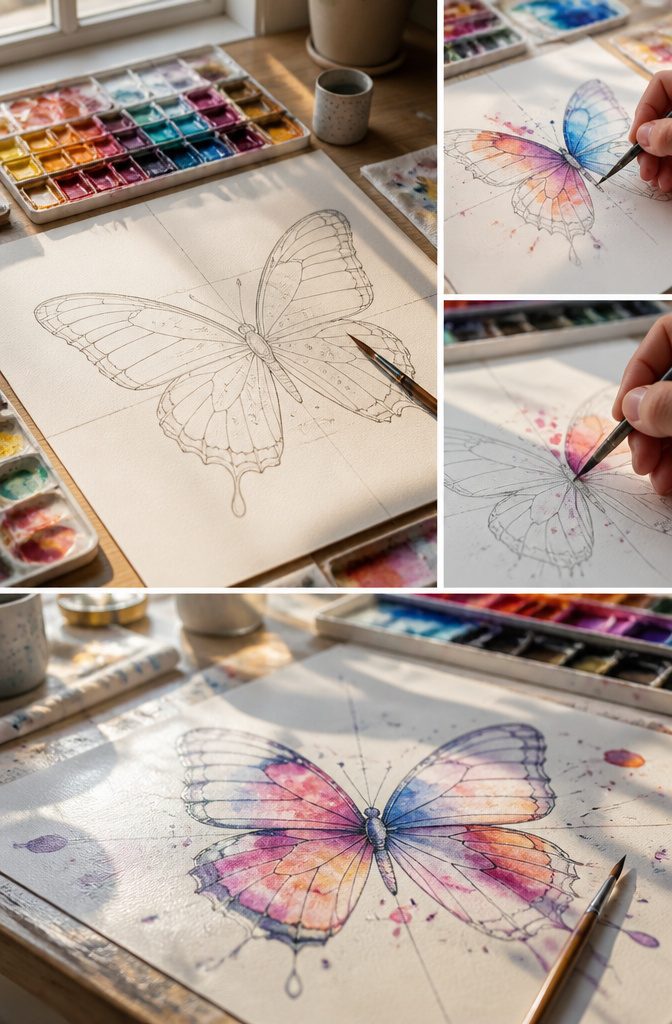
A watercolor butterfly sketch lives in two stages: the drawing sets the bones, and the color comes later.
I learned this the hard way after bringing a fully shaded pencil study to an artist who had to erase half my work just to plan where the pigment would actually flow.
Leave the wings open.
The sketch should mark the body, the wing edges, and the veins with clean lines no thinner than 0.5mm. Anything lighter blurs within a few years as the ink settles.
Inside those boundaries, keep the paper almost empty. The color does the work there, bleeding outward from the body and fading toward the wingtips.
Skin shows through on purpose.
Plan your negative space by drawing loose circles where splatter zones will live, or let drip-guide lines fall off the lower wing edges so the artist knows where washes can escape the outline without looking like a mistake.
One approach I have seen work: half the butterfly in defined lines, the other half dissolving into suggested wash shapes or paint drops.
The sketch is structure, not decoration.
Colored-pencil gradients in your drawing will not survive as colored-pencil gradients on skin. Mark light and dark zones instead, then talk saturation through honestly with your artist.
They translate those zones with whip shading or true watercolor technique. What reads as unfinished on paper is exactly what gives the tattoo room to breathe once the needle starts.

Texture of material: 70% nylon, 30% spandex (1 pcs)

Texture of material: 70% nylon, 30% spandex (1 pcs)
6. Geometric and Blackwork
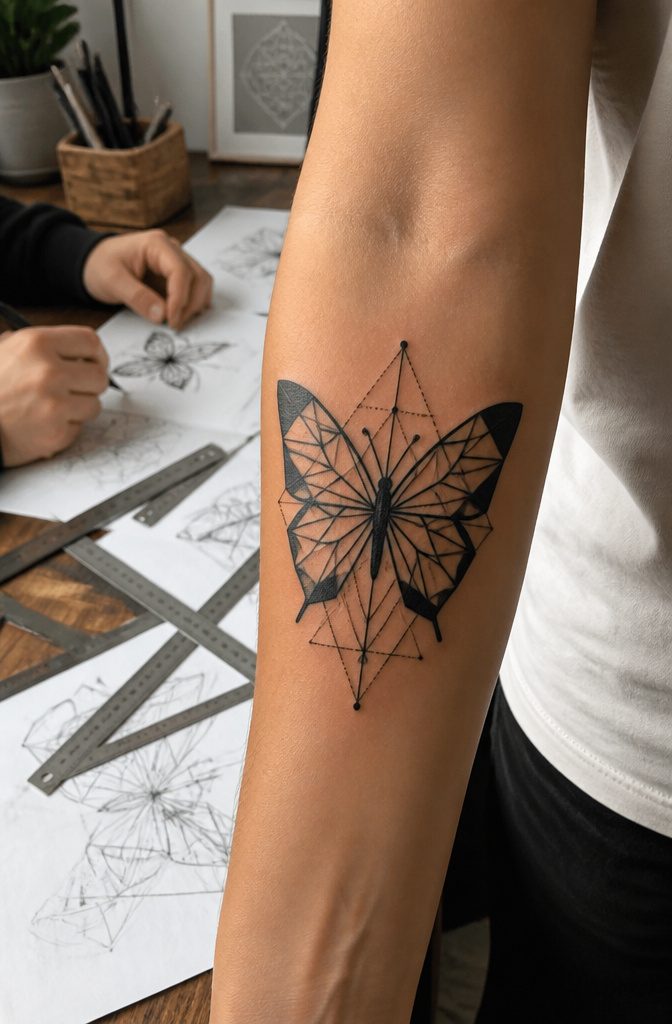
Geometric butterfly tattoos break the insect into triangles, hexagons, and straight-line segments that read as abstract from across a room and resolve into wings up close.
Dotwork fills negative space with stippled gradients, but dots need at least 2mm of space between them or the ink spreads and merges into a muddy gray within a few years.
Solid blackwork blocks in entire wing sections with saturated pigment, which ages better than fine graywash because there is simply more ink to lose.
This style shrinks well. A geometric butterfly the size of a quarter keeps its structure where a realistic one would blur into a smudge, and at sleeve scale the repeating shapes create a tessellated pattern that moves with the arm.
Blackwork specifically rewards bold commitment; half-filling a geometric wing with tentative gray reads unfinished, whereas a fully saturated shape holds its graphic punch for decades.
The trade is flexibility. Geometric designs are hard to cover later, and a misplaced line in the initial sketch throws the whole symmetry off in a way organic styles forgive.

JimKing Tattoo needles and tips are packaged in a disposable sterilization box to prevent secondary infections.

Dragonhawk Tattoo Needles: High-quality tattoo needles, manufactured under the trusted Dragonhawk brand, are perfect for all-purpose work. With a polished, long taper design, these needles ensure reliable performance and excellent control.

⭐Tattoo needles are made of 316L surgical stainless steel and medical-grade plastic. The highest quality material is healthy and durable enough to work.
7. Drawing the Body Line
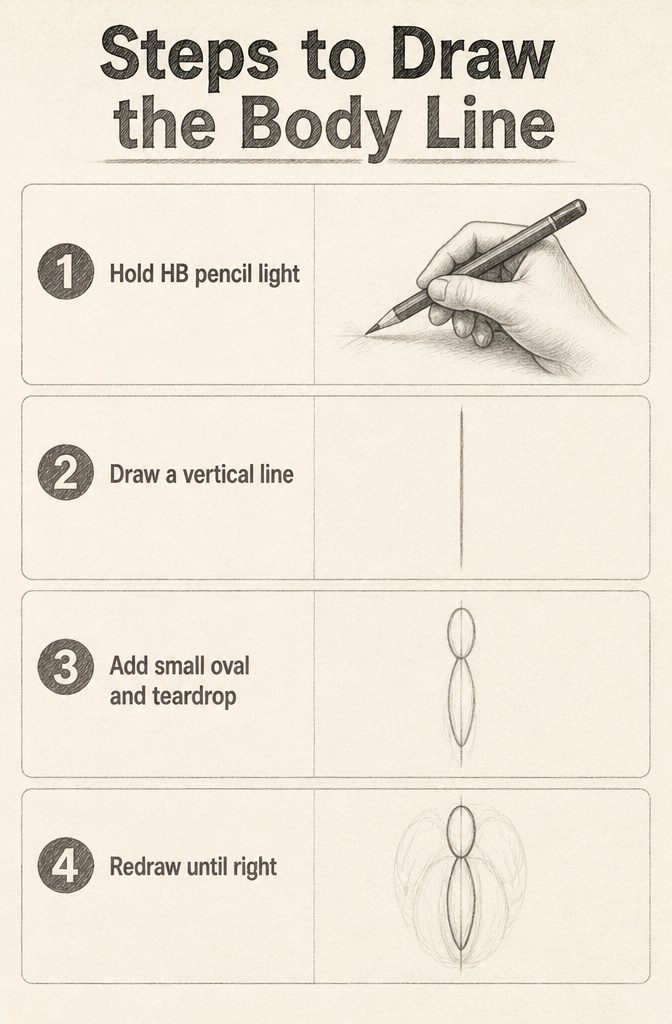
- Start with an HB pencil held light against the page; heavy graphite grooves are hard to erase once the wings go in and the body line shifts.
- Draw a straight vertical line about the height of your thumb. This is the symmetry anchor everything else hangs from, so keep it true with the edge of your phone or a ruler if your hand wobbles.
- Add a small oval near the top of that line for the head and thorax, then a slim teardrop below for the abdomen. The proportion matters: too thick and the butterfly reads moth, too thin and the wings look pasted onto a stick.
- First attempts run about fifteen minutes, most of it spent redrawing the oval until it sits right. The eraser gets more use than the pencil at this stage, which is why starting light pays off.

📦 Complete Professional Tattoo Stencil Kit - Get the ultimate tattoo stencil solution with this high-value kit. It includes 50 premium A4 tattoo transfer papers and a full bottle of professional tattoo transfer gel, providing everything you need for countless sessions. This complete set is a fundamental part of any professional tattoo kit and supplies, designed for frequent use in studios or at home.

🔵【CLEAR & CONSISTENT TATTOO TRANSFERS】 WZPB tattoo transfer paper produces clean, crisp stencil lines with excellent detail retention, helping artists achieve accurate transfers for lettering, geometric designs, portraits, and intricate artwork.

Spirit Tattoo Classic Thermal Transfer Paper, 8.5” X11” (100 Sheets): Established since 1946, the original and trusted choice of tattoo artists globally, offering reliability and consistency in tattoo stencil creation.
8. Mirroring the Wings
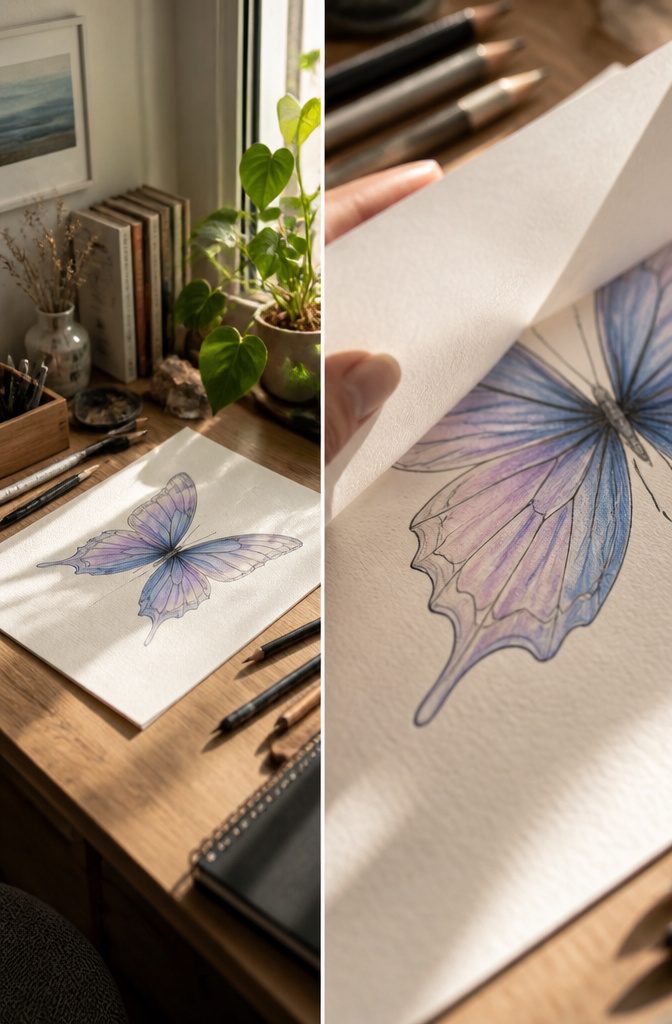
- Fold your paper in half along the body line and draw only the left wing pair, pressing firm enough to leave a mark on the underside.
- Rub the back with your fingernail, unfold, and a mirrored copy transfers to the right side; trace it lightly and you have perfect symmetry without redrawing.
- Skip the fold by sketching a light grid or tracing one wing on tracing paper and flipping it, though the fold-and-rub method takes half the time.
- Mismatched wings ruin butterfly tattoos more often than bad shading or weak linework; the eye reads the shape first and asymmetry makes the insect look injured or fake.
- Press firmly on step one, because a soft pencil line ghosts faintly on the transfer and leaves you guessing at edges when you trace.

Package Includes: You will receive 20 sheets reusable tattoo stencils, enough quantity to meet your daily requirements. The mehndi stencils are suitable for airbrush painting, glitter tattoo, and so on.

⯁ 400+ Reusable Henna Stencils: Get 24 sheets of high-quality, self-adhesive hollow templates featuring over 400 unique patterns. These temporary tattoo stencils allow you to create stunning body art including mandalas, butterflies, and dragons. Perfect for practicing techniques without permanence

✨ Jumbo 6-Sheet Collection: Each set includes 6 large A4 sheets featuring dozens of unique henna stencils and mehndi stencils for hands. From henna stencils flowers to bold tattoo stencils premade, this bulk kit offers endless variety for body paint.
9. Shaping Upper and Lower Wings
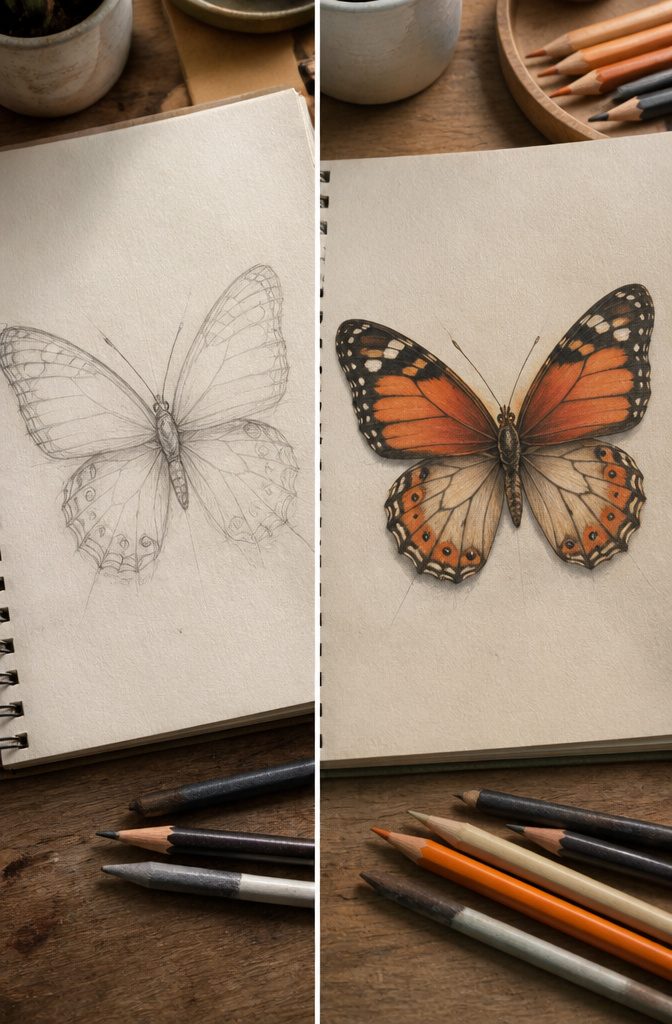
- Start the upper wings first, sketching them as two broad soft petals that flare outward from the thorax. Their length should sit about 1.5 times the body height, with the widest point landing slightly above midpoint. Draw them too small and the butterfly looks cramped; too large and the body disappears underneath.
- Drop the lower wings directly beneath, sizing them as smaller rounder forms that tuck under the upper pair’s trailing edge. The common mistake is placing them too low, which stretches the abdomen and breaks the silhouette. Keep the gap between upper and lower pairs narrow, no wider than the body width itself.
- Check your proportions before committing to ink. The upper wings carry roughly 60 percent of the total wing area, the lowers the rest. Flip the sketch upside down: if the lower wings read as heavy or drooping, raise them until the mass feels balanced across that horizontal axis.

【Package Including] Each package including 10 sheets butterfly temporary tattoos sticker, 100 pcs in total, there are different colors and styles to choose from.

【 575+ Fun Assorted Tattoo Stencils 】-The ChurlChurl tattoo stencils collection includes 575 high quality stencils with multiple themes. enjoy cute trendy tattoo stencil designs like butterflies, words, flowers, symbols, totem, Egypt style patterns and more.

⚡Set Includes 148 Mixed Butterfly Styles Temporary Tattoos for Girls Party Favors -- Super adorable and fun kids temporary tattoos. This tattoo sticker set contains many fun sea elements that kids will like. Add an individual extra touch of fun to a children’s party or event with CHARLENT tattoo stickers.
10. Adding Veins and Patterns
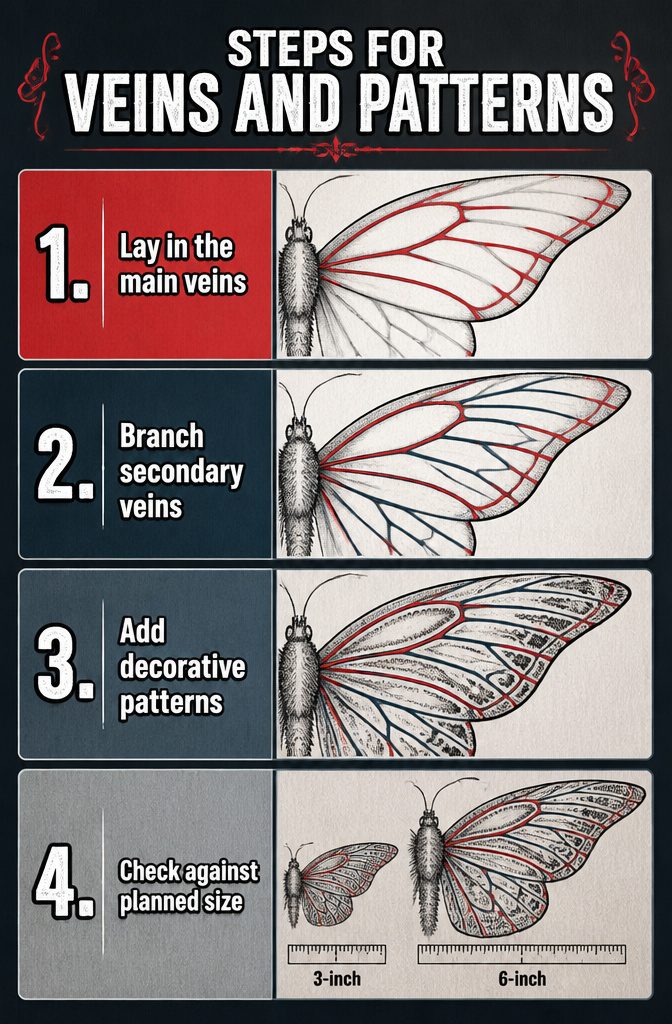
- Lay in the main veins first, running from the thorax to each wingtip and trailing edge. These are the roads everything else follows; get their curves wrong and the whole wing feels stiff.
- Branch the secondary veins off those main lines, but keep every channel at least 2mm wide in the final tattoo. Ink spreads slightly during healing, and a vein drawn too tight becomes a blurry stripe by month three. What looks delicate on paper often needs more breathing room than you expect.
- Add decorative dots, stippling, or small pattern blocks between the veins if the style calls for it. The same 2mm minimum applies here too. A cluster of five dots reads as texture at sketch size; at tattoo size, it can merge into an unintended blob.
- Step back and check the detail against the planned placement. A 3-inch butterfly on a wrist cannot carry what a 6-inch shoulder piece can. I usually draw two versions: one at actual size, one zoomed to fill the page. The zoomed version flatters the design; the actual size version tells me what will survive the needle.
11. Inking the Final Lines
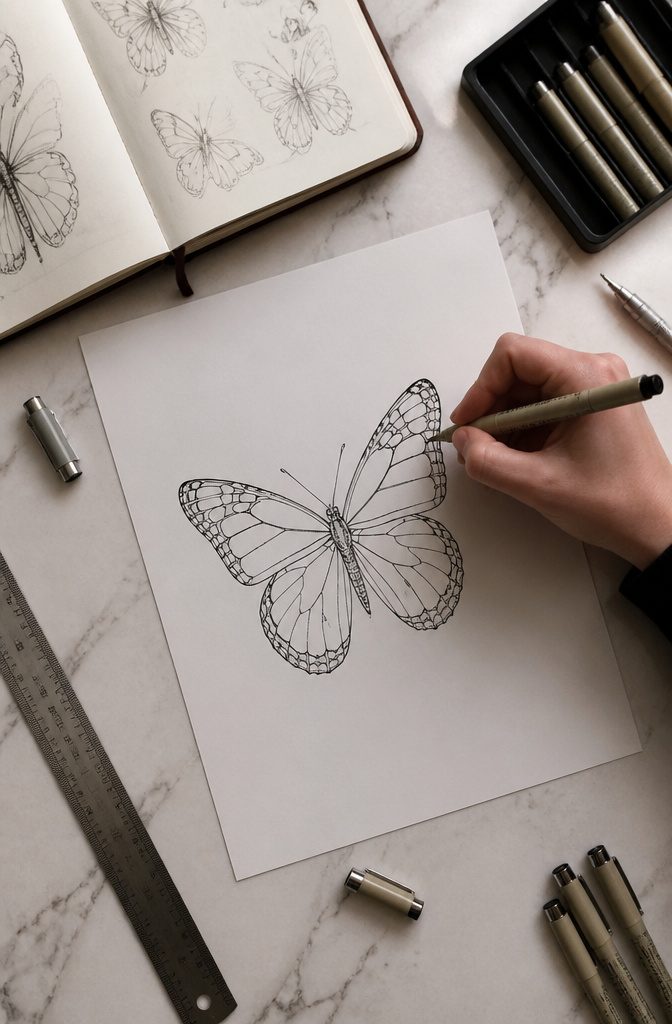
- Grab a 0.5mm fine liner for the final pass over your butterfly sketch. This thickness is right for stencil clarity: bold enough that your artist can trace the outline without squinting, yet fine enough to preserve delicate wing details.
- Anything thinner than 0.5mm risks disaster once the needle hits skin. Sub-0.3mm lines blur first, merging into fuzzy edges within a few years as ink naturally spreads beneath the surface. Your intricate antennae and wing veins become indistinguishable smudges.
- If your design needs light construction lines for symmetry or spacing, a 0.3mm pen works for those temporary guides. Just never let them stay in the final art. Trace over every intentional line with the heavier 0.5mm, then erase the lighter marks completely before showing your artist.
- The stencil only reproduces what reads clearly on paper. Thin lines that look elegant in your sketchbook disappear under transfer gel or stencil paper, leaving your artist guessing at gaps. That uncertainty translates directly to skin.
What Sketching Clarifies Before the Needle
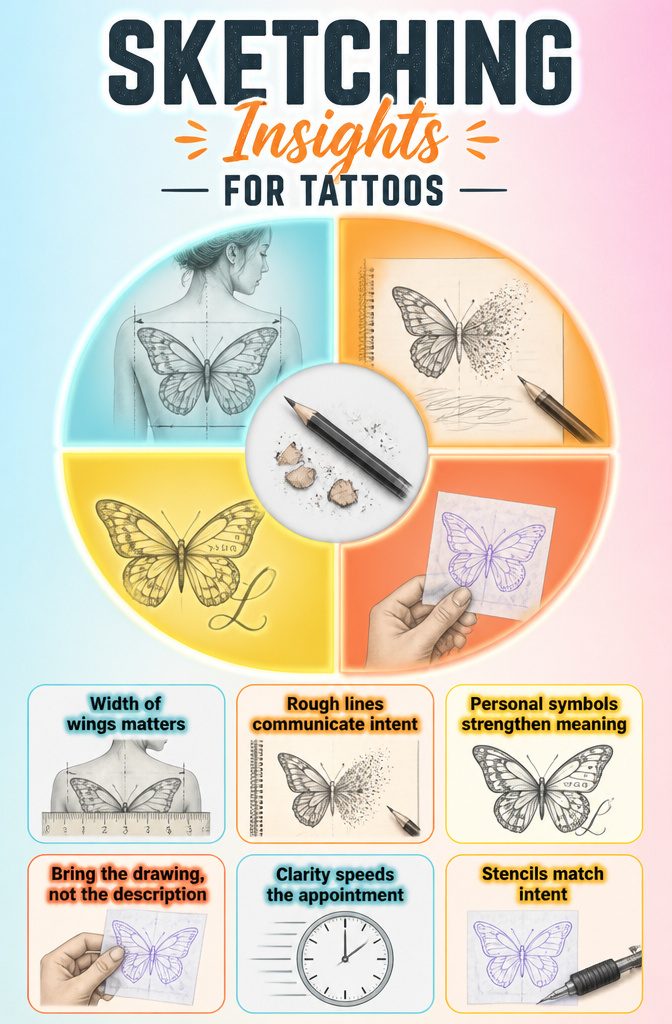
A sketch forces you to decide how wide those wings actually stretch on your shoulder versus your ribs.
Paper lies; a butterfly that looks delicate at four inches can turn into a smudge at two, and skin blurs anything finer than a 0.5mm line. Drawing it yourself reveals that before the stencil ever touches you.
The rough pencil lines also do what words cannot. Telling an artist you want "transformation" leaves room for two people to picture different things entirely.
Handing over a folded-wing sketch with one side dissolving into loose marks, or antennae that curl like a specific handwritten letter, turns meaning into shape the artist can read and refine. They interpret rough concepts every day; clarity beats polish.
Personal symbols land harder when you have already placed them. A butterfly drawn to emerge from a fading line, or to open toward a hidden date tucked in the wing pattern, carries weight that a Pinterest screenshot never earns.
The sketch is where you test whether that private reference still reads as art instead of explanation.
Bring the drawing, not the description. The appointment moves faster, the stencil matches intent, and the needle follows lines you already lived with for an evening.
Pencils, Paper, and Digital Options
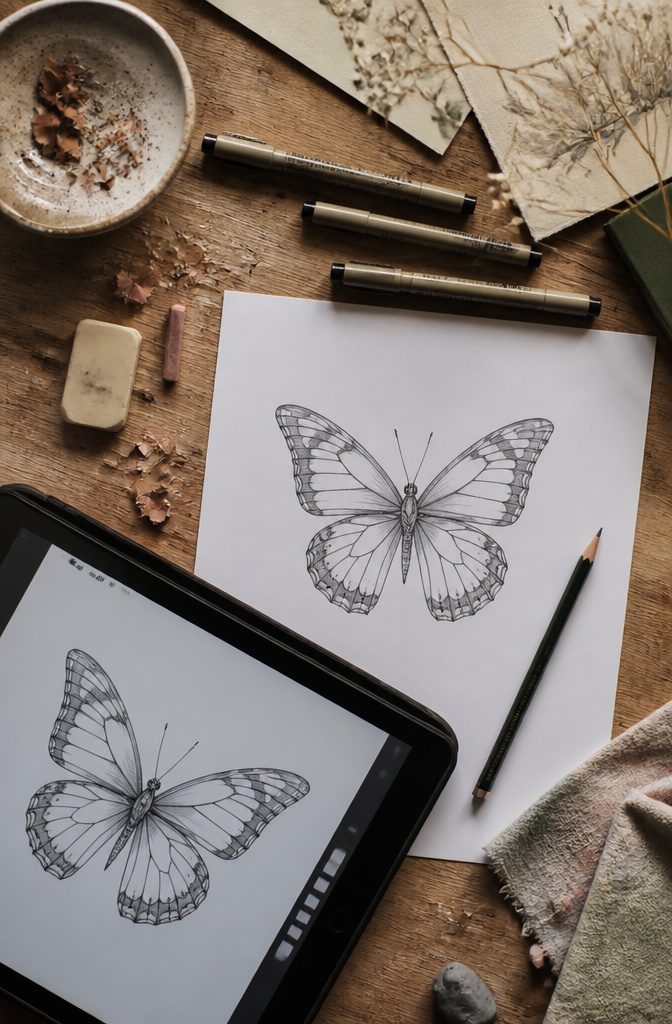
The right tools keep a butterfly sketch from turning lopsided halfway through. Here is what actually works on paper or screen:
- HB pencil and a soft eraser handle the rough shapes without trenching the page. Harder leads score the paper and resist blending; softer ones smudge the symmetry lines you will need later.
- 0.3–0.5mm fine liners lock in the final lines once the wings match. The 0.3 tip saves detail in tight vein work; 0.5 shows up under transfer paper better.
- Tracing paper is the quiet hero for butterfly sketches. Flip it, mirror the first wing, and trace the second. Layer fresh sheets over mistakes instead of starting over.
- IbisPaint X on phone runs a mirror layer for free. The symmetry tool draws both wings at once, and the file exports clean enough for most artists to read.
- Procreate on iPad costs, but it is what working tattoo artists actually sketch in. The live symmetry updates both sides as you draw, and the brush engine mimics real liner pressure without the ink variance.
- Print finished sketches at real size on temporary tattoo paper and wear them for a few days. Placement shifts when the design bends with an arm or shoulder; a flat phone screen hides that.
Testing Placement Before Committing
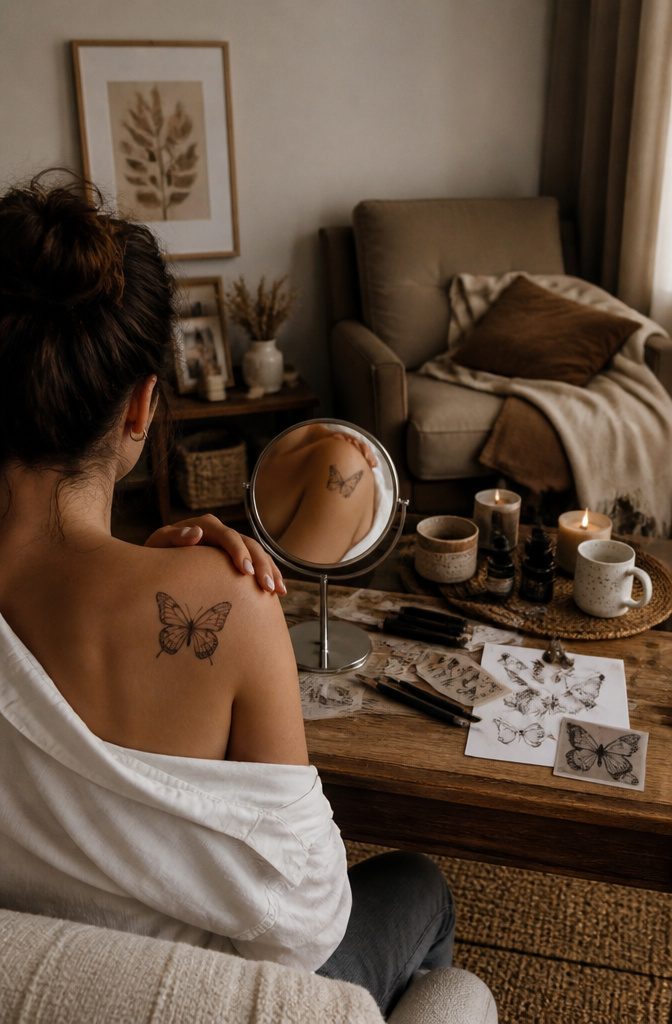
A loose sketch on paper only shows so much.
The curve of a shoulder or the flat plane of an ankle changes how a butterfly sits, and eyeliner or a washable marker lets you draw the outline directly on skin to see where the wings fall when you move.
Sleep on it, shower with it, let a shirt cuff rub against it. That two-day trial teaches what paper cannot: whether the shape catches your eye in the mirror or fades into background noise.
Temporary tattoo paper takes the test further. Print your refined sketch, wear it through work and the gym and a crowded bar, and watch where people’s eyes actually land.
The upper arm sketch that looked balanced on the page might read as too busy when your elbow bends; the delicate rib placement you loved in theory disappears under most tops you own.
Three days of living with the design reveals what Google image searches never will, that the tattoo you thought you wanted at breakfast and the one you still want by dinner are sometimes different things.
Frequently Asked Questions
Do I need to know how to draw to get a butterfly tattoo?
No. Your artist designs tattoos professionally, so a Pinterest board or photo reference is enough to start.
A rough sketch of your own does help you communicate size, wing direction, and which details matter most, which means fewer revisions and a result closer to what you pictured.
What should I bring to my artist, a drawing or photos?
Both, if you can. Photos show style and mood; your own drawing shows personal intent.
Artists consistently say a client sketch, even a clumsy one, is the most useful reference they can get, because it reveals which details you care about and where they have creative freedom.
How detailed can a butterfly tattoo drawing be?
It depends entirely on the final size. At 2 inches, stick to outline, simple veins, and a few dots.
At 4 inches or more, full realism works. If two details sit closer than 2 mm on your paper, they will blur together on skin within a few years.
What does a butterfly tattoo symbolize?
The meanings you want, such as transformation, freedom, or a specific memory, shape the design itself.
A wing emerging from a dissolving line can signal rebirth; antennae curling like a handwritten letter can carry private weight. Sketching is where those meanings turn into visual choices the artist can read.
How do you draw an easy butterfly?
Start with a light HB pencil and a straight vertical line about thumb height for symmetry.
Add a small oval near the top for head and thorax, a slim teardrop below for abdomen, then fold the paper and draw one wing pair against the crease.
Rub the back, unfold, and trace the mirrored copy for perfect symmetry without redrawing.
Where do butterfly tattoos look best?
Fine line styles suit the back of the neck, ankle bone, or space behind the ear because the skin stays stable and the design stays small. Realistic studies need the upper back or outer thigh for enough room.
The inside of the forearm works for several styles; the ribs stretch fine lines too fast. Test placement with eyeliner or temporary tattoo paper before committing.
Can I draw my tattoo on my skin to test placement?
Yes.
Eyeliner or a washable marker lets you sketch the outline directly on skin for a quick mirror check. For a truer test, print your refined drawing on temporary tattoo paper and wear it for two or three days.
Living with the design reveals what paper cannot, like whether it catches your eye in the mirror or fades into background noise.
What app can I use to design a butterfly tattoo?
IbisPaint X is free and includes a mirror-symmetry layer that draws both wings at once.
Procreate on iPad is the industry favorite among working tattoo artists. Digital or paper, clarity is what counts, not polish.